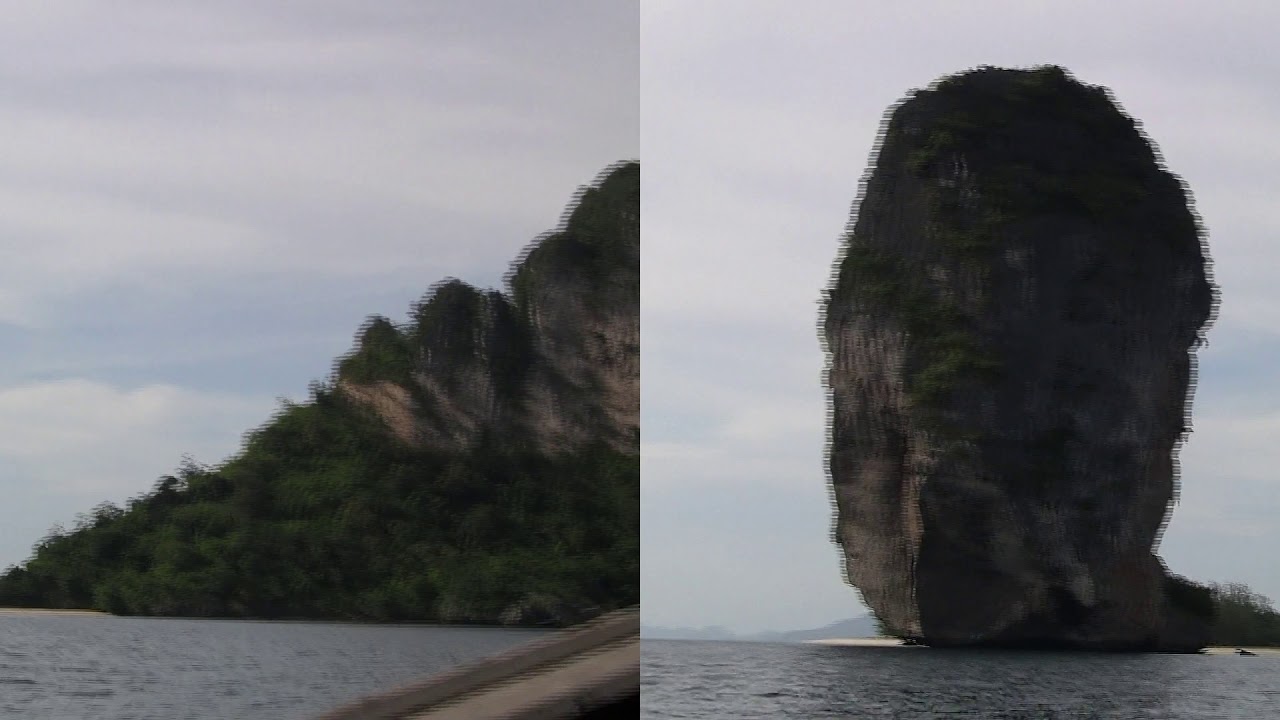
This blog entry is about a technique to use to stabilize videos that are shaky.
I previous posted in 2009 about a technique running an MS-Windows application under “wine”, which worked reasonably well. This was the application “VirtualDub” with the plugin “deshaker”.
This current post is about a pure GNU/Linux technique, using the openSUSE packman packager packaged application “ffmpeg” and the library “libvidstab”.
In general , the application is integrated in transcode, ffmpeg (check also static builds) and also kdenlive. I don’t nominally use transcode, and while I use kdenlive from time to time, in some previous efforts, I struggled with their vid.stab implementation.
In this blog article, I discuss some recent successful experience using ffmpeg and libvidstab as packaged by the Packman packagers.
While this GNU/Linux technique has been available for a while, I only first noticed it a few days ago. I surfed a bit and found some references here:
- vid.stab - Transcode video stabilization plugin
- Video stabilization library - http://public.hronopik.de/vid.stab/
- Video Stabilization with Ffmpeg – last updated 2 years ago
- PCLOG: Video Stabilisation
- Stabilizing GoPro Video with FFmpeg and vid.stab - February 17, 2018
vid.stab – Features
FFMpeg bash shell command
I used the ‘ffmpeg’ command in a bash shell to do the stabilization. This is nominally done in 2 steps, where the first step creates a vector file associated with the video that one wishes to stabilize, and the second step performs the actual stabilization, creating a new video from the old.
One can see, using the above links, the various vidstab options one can use.
Create vector file:
In my case for the 1st step I sent the following command in a bash shell (where my original video was a type .mts from an old Canon video camera) :
ffmpeg -i inputvideo.mts -vf vidstabdetect=stepsize=6:shakiness=8:accuracy=9:result=transform_vectors.trf -f null -
For the sake of this example, my input video file is “inputvideo.mts”. This ffmpeg command created the file “transform_vectors.trf”.
Create stabilized video:
I then sent in the bash shell the command (again with the “inputvideo.mts” input video file and this time with the “transform_vectors.trf” vector file:
ffmpeg -i inputvideo.mts -vf vidstabtransform=input=transform_vectors.trf:zoom=1:smoothing=30,unsharp=5:5:0.8:3:3:0.4 -vcodec libx264 -preset slow -tune film -crf 18 -acodec ac3 stabilizedvideo.mp4
This created the stabilized video file “stabilizedvideo.mp4”.
I obtained the above settings off of one of the noted web sites, and while I played with the smoothing, shakiness, accuracy, stepsize, and some other parameters a bit, I was not able to improve on the above settings (for the videos I tested this on).
Compare original and stabilized videos:
In order to do a side by side comparison of “inputvideo.mts” and “outputvideo.mp4” I combined the two into one file with the following ffmpeg command:
ffmpeg -i inputvideo.mts -i stabilizedvideo.mp4 -filter_complex "[0:v:0]pad=iw*2:ih[bg]; [bg][1:v:0]overlay=w" comparisonvideo.mp4
Where “comparisonvideo.mp4” has the original and stabilized videos side by side for comparison.
That worked pretty neat.
Example video illustrating stabilization improvement:
For example, this was my very first effort. It illustrates both the original video, and the affect of the stabilization. Check it out:
The original video is on the left, and the stabilized on the right. This was taken of a rough long tail boat ride off the coast of Thailand in year 2009.
Process an Entire Directory of videos (with one command)
I then combined the 3 above into one ffmpeg command in a ‘do-loop’ and converted an entire directory of over a hundred .mts videos to a corresponding number of stabilized videos and comparison videos with this bash shell command:
for i in *.mts; do ffmpeg -i "$i" -vf vidstabdetect=stepsize=6:shakiness=8:accuracy=9:result=transform_vectors.trf -f null -; ffmpeg -i "$i" -vf vidstabtransform=input=transform_vectors.trf:zoom=1:smoothing=30,unsharp=5:5:0.8:3:3:0.4 -vcodec libx264 -preset slow -tune film -crf 18 -acodec ac3 -ab 128000 libvidstab_${i/%mts/mp4}; rm transform_vectors.trf; ffmpeg -i "$i" -i libvidstab_${i/%mts/mp4} -filter_complex "[0:v:0]pad=iw*2:ih[bg]; [bg][1:v:0]overlay=w" compare_${i/%mts/mp4}; done
That then created for each and every .mts video file in the directory, a corresponding “stablized.mp4” file, and also corresponding comparison “compare…mp4” file.
Caution / request to readers
Please note, I am not an ffmpeg guru, nor a bash shell guru. I recommend anyone who attempts the above and fails, submit a help request in the forum, and not under this blog - as the odds are I will not be able to help you with any deviations from the above.
.
